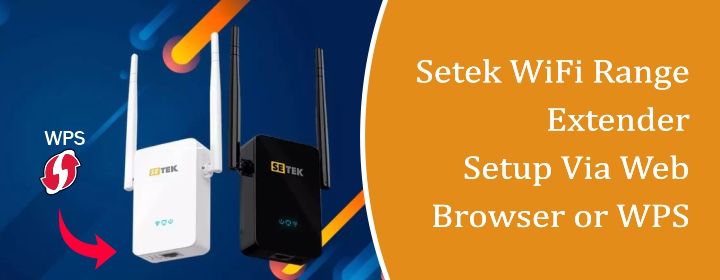
Setek WiFi Range Extender Setup Via Web Browser or WPS
There are two methods that you can use to setup the Setek WiFi range extender: Web-based interface (browser) and WPS connection method. So, let’s learn them one by one.
Setup via Web Browser
Supply power to the extender by plugging it into the wall socket. Then connect a PC to the extender WiFi network via SSID credentials. After that follow these steps:
- Choose updated web browser in your connected PC and search the IP address 192.168.10.1.
- Now, a setup page displays, wherein you have to enter the admin login password.
- The default admin login password is: admin.
- Enter the password and access the interface.
- In the interface choose host router WiFi network and type its password to connect the extender with the router.
- On the next page, type the new extended WiFi password and username, SAVE it.
The extender will restart automatically to apply the settings and then you can connect to its network.
Setup via WPS Method
Power the extender by connecting it to the electric wall socket close to the router. Then follow these steps:
- Push the extender’s WPS button.
- Then press the router’s WPS button.
- Wait for the connection to establish.
- The extender’s WPS LED solid light is the indication of the connection.
Now, the Setek WiFi extender setup is completed and you can connect with the extended network via host router SSID password.
Summary
In this blog post, we have explained how to setup the setek WiFi range extender with the help of the web browser as well as WPS method.