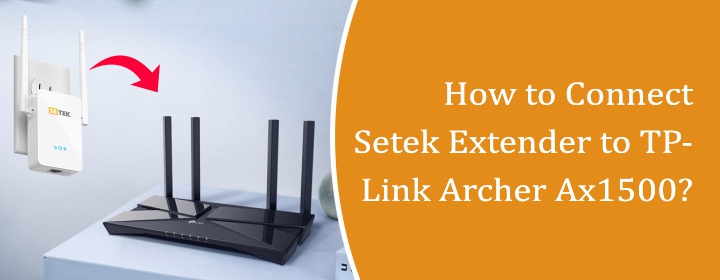
How to Connect Setek Extender to TP-Link Archer AX1500?
To connect Setek extender to TP-Link Archer AX1500 WiFi router, use below given setup methods: WPS connection method and Setek WiFi extender login interface method. Let’s have a close look to both the methods.
How to Setup Setek WiFi Extender?
Method1: WPS Connection
The WPS (Wi-Fi Protected Setup) is the easiest way to make a connection between Setek WiFi extender and TP-Link Archer AX1500 router. There are a few steps that you must follow to link the devices:
- The first step is to plug the extender near your home router in a working wall socket and turn it on.
- Then, at the side panel of the device, you will find the WPS button, just press it once.
- After that, you must press the router’s WPS button within two minutes.
- The extender will take minimum 60 seconds to search the router network and connects with it.
- The WPS LED show solid light which indicates the extender is connected with the router and ready to extend WiFi network.
Now, Setek WiFi extender is configured in its default settings and can be linked through the router’s SSID credentials. If you want to change the credentials, access the interface of the Setek extender in your PC.
Method2: Web-Based Interface
The other method to connect Setek Extender to TP-Link Archer AX1500 router is through web-based interface. Follow simple steps to connect the extender with the router and access the interface to complete Setek WiFi extender setup.
- Connect the Setek WiFi range extender into the power socket and power it on by pressing the Power On/off button.
- Link your computer or laptop with the WiFi extender’s WiFi extender via SSID credentials.
- Go in the web browser and enter the login IP address 192.168.10.1 which is default set in the extender.
- The Setek WiFi extender login page of the interface will show up, here enter the admin default password to access the interface.
- Click LOGIN button and access the interface. The interface starts a search for the local WiFi networks.
- Select router network which signals you want to extend. Enter the WiFi password to connect the devices.
- On the next page, you have to enter the new extended network WiFi name and password, and then click SAVE.
Once Setek WiFi extender connects with TP-Link Archer AX1500 router, then you can unplug the device and move it into the dead zone of the house.
Now, learn how to solve different Setek WiFi extender setup technical errors with the help of the troubleshooting tips which are given in below section.
Troubleshooting Tips
- Make Sure Extender Plugged within Router’s Reach: The extender will only work or connect with the router when it is powered on in the range of the router. So, make sure that the extender is within the reach of the TP-Link Archer AX1500 WiFi router.
- In Manual Interface Setup Method Use Updated Web Browser: If you are using the manual method to connect Setek extender to TP-Link Archer AX1500 router, be sure that the browser is up-to-date. To update, go into the browser’s Settings, choose ABOUT and click UPDATE or Check For Update Button.
- Reboot Router or Extender If Not Able to Link: Refresh the network or device’s settings to make the network visible. To reboot, turn off your devices and power them on once more.
- Reset Once If Extender Not Connecting: Reset Setek WiFi extender when extender is not connecting to the router. To reset:
- Press and hold the RESET pinhole button at the side panel of the extender.
- Hold it for 10 seconds and release it. Wait for the extender to restart.
- Then re-configure the Setek WiFi range extender device.
The End Lines
In this above post, you have learned about how to connect Setek extender to TP-Link Archer AX1500 router. The blog post explained two methods to setup the Setek extender with correct instructions and also troubleshooting tips to solve any setup error.